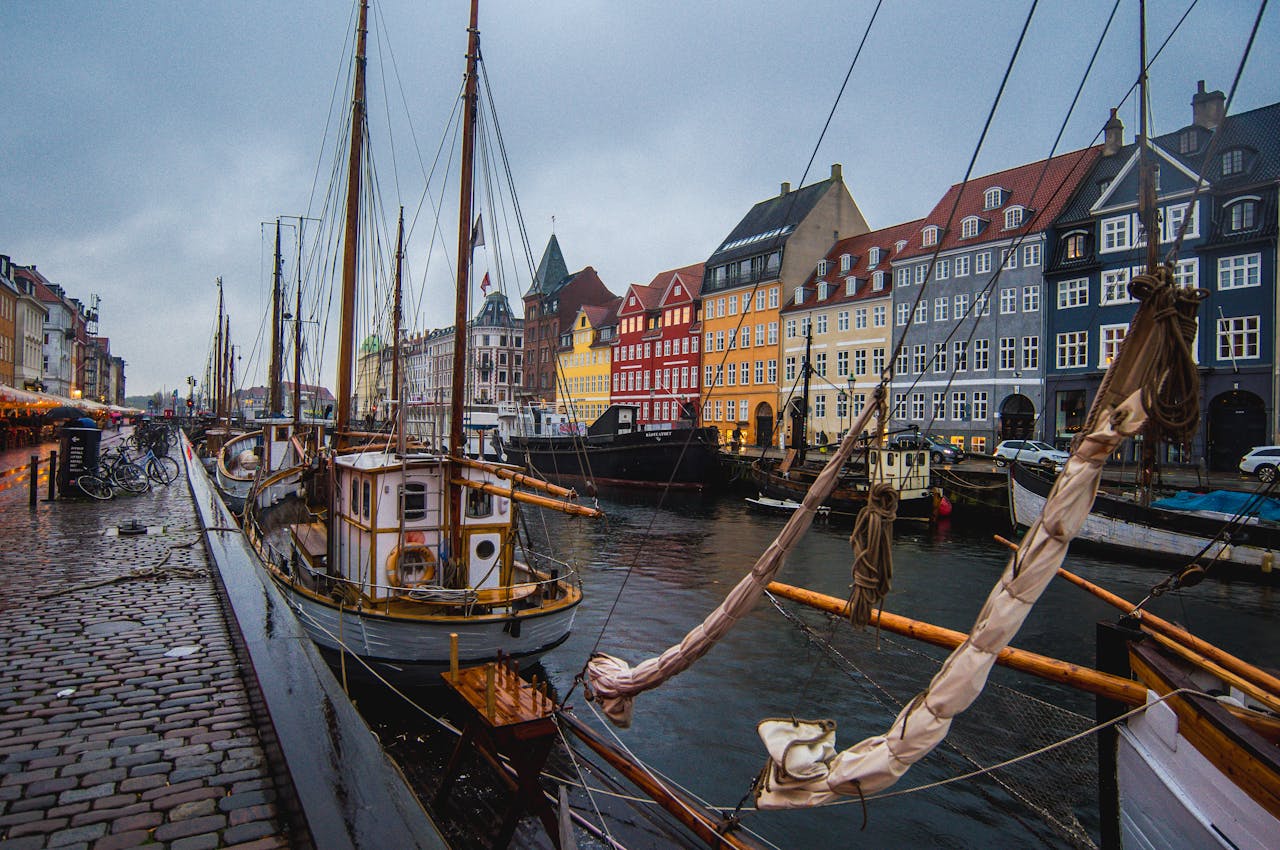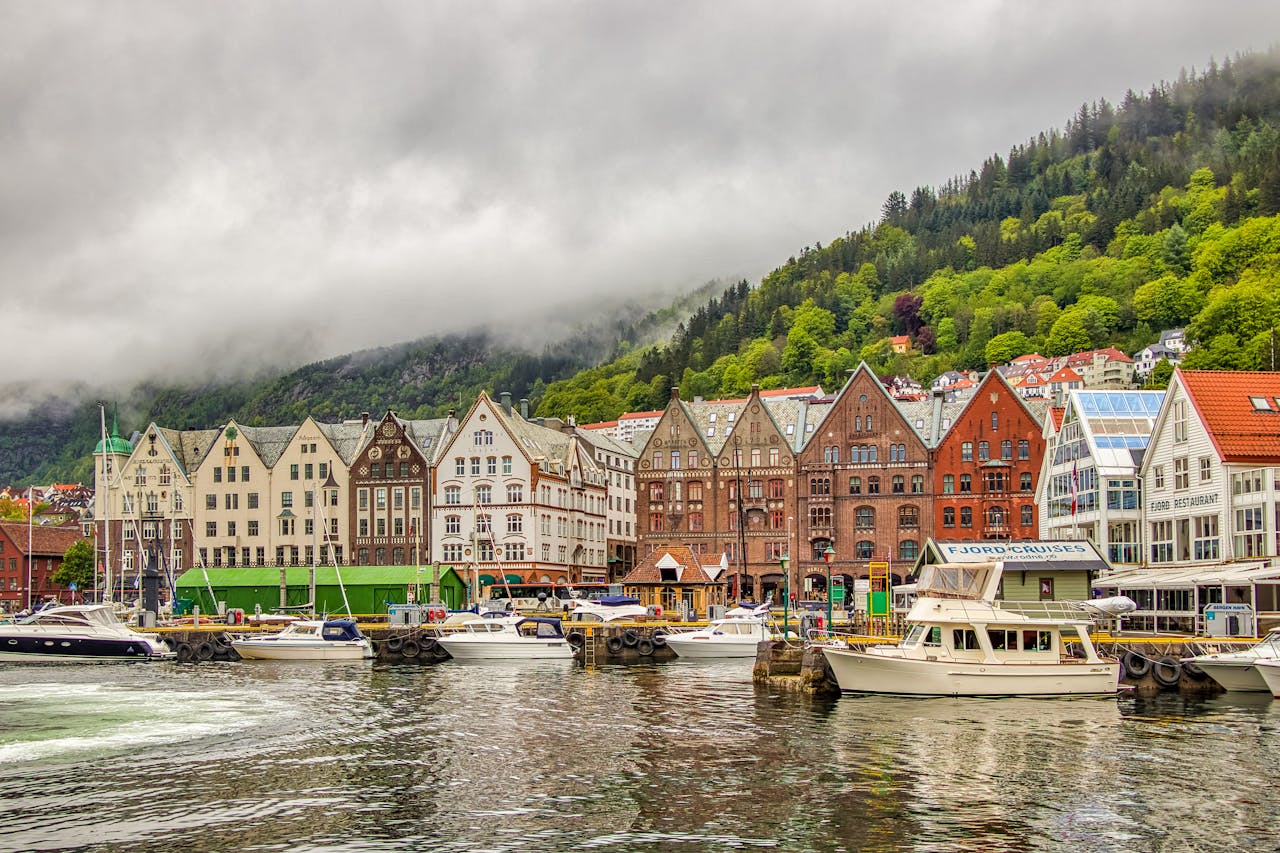
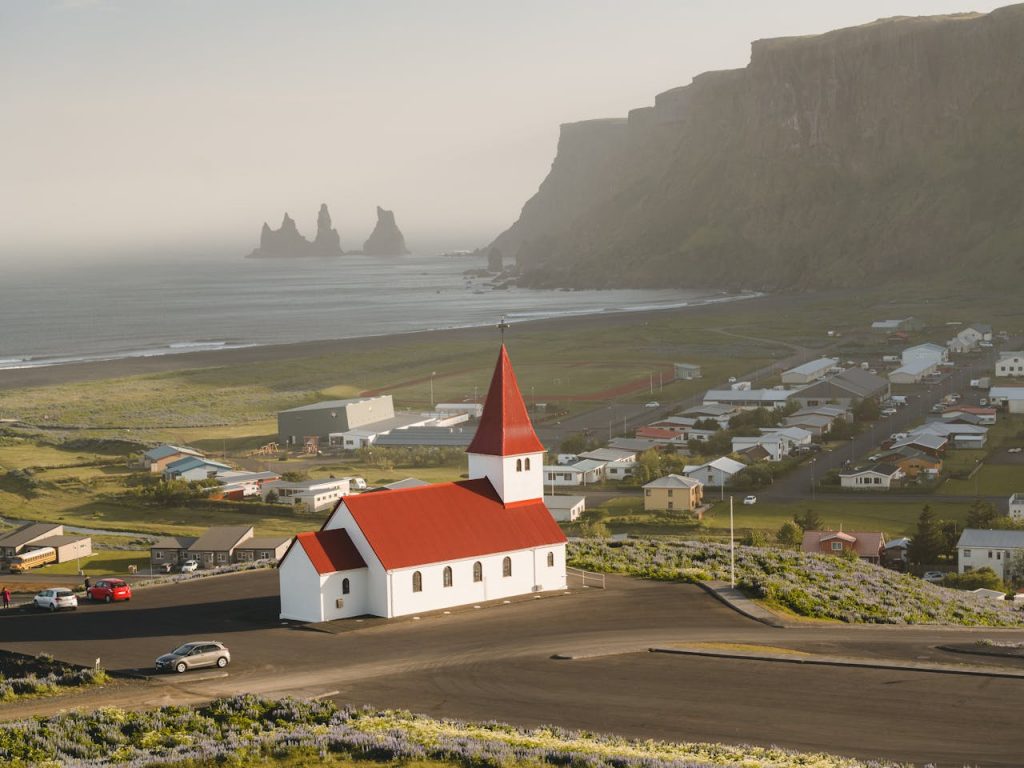
Iceland is a paradise for digital nomads looking to blend work and adventure. With its stunning natural beauty and advanced technological infrastructure, it’s the perfect destination for tech professionals seeking to live and work temporarily. Now, with the introduction of the new Digital Nomad Visa in Iceland, this country offers a unique opportunity for international workers.
As you can imagine, Iceland has taken an innovative approach to attract digital nomads through a program called “Work in Iceland,” which offers a special visa for those wishing to live and work remotely in this beautiful Nordic country.
Step 1: Research requirements
Before starting the application process, research the specific requirements for the digital nomad visa in Iceland. Visit the official website of the Government of Iceland for updated information on eligibility criteria and required documents.
Step 2: Document preparation
Once you’re familiar with the requirements, make sure to gather all necessary documents. This may include a copy of your valid passport, evidence of remote employment, proof of sufficient financial means, and valid health insurance.
Step 3: Complete application form and pay fees
Fill out the digital nomad visa application form, available online on the Directorate of Immigration website. Ensure you provide all required information accurately and truthfully. Then, make the corresponding payment for the visa application fees.
Step 4: Submit your application
Once the application is complete and fees are paid, submit your visa application to the Directorate of Immigration in Iceland. Be sure to follow any specific instructions provided for submitting additional documents, if necessary.
Step 5: Monitor application status
After submitting your application, keep track of its status. You can do this through the Directorate of Immigration’s online system or through any communication provided during the process.
Step 6: Receive visa and plan your stay
Once your visa is approved, you’ll receive authorization to reside in Iceland as a digital nomad. Plan your stay in this beautiful Nordic country and get ready to enjoy its stunning nature, vibrant culture, and high quality of life.
By following these steps and meeting the established requirements, you’ll be on your way to obtaining your digital nomad visa for Iceland and enjoying a unique experience in this fascinating northern country. Remember that at QUESTRAVEL, we can assist you with anything you need during this process.